Windows 8 now is not the newest version of the OS from Microsoft, because the Ten came out not so long ago. However, there are not many differences between them. For this reason, a huge number of owners of computers and laptops are not updated. This is understood by the developers of various programs, for example, the BlueStacks emulator. They will not give up support for this operating system for a long time. And in order to download BlueStacks for Windows 8, the user needs a minimum of actions. Consider everything on the example of a brief instruction.
Installation procedure
Download the current version of the Android emulator for G8 will be released from the official website. So that you do not have to scour it in search of the desired page, we left a link to it under the material. Open it and then left click on the green button. 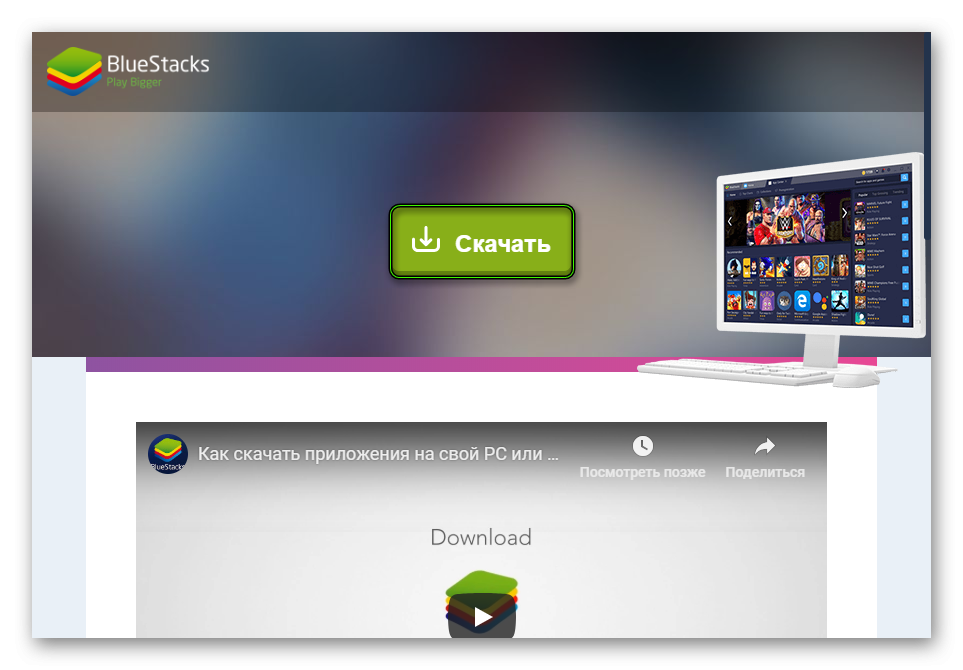
Now run the resulting file. After a few seconds, the installation window will appear. Here you don’t need any settings, just click on the start point. 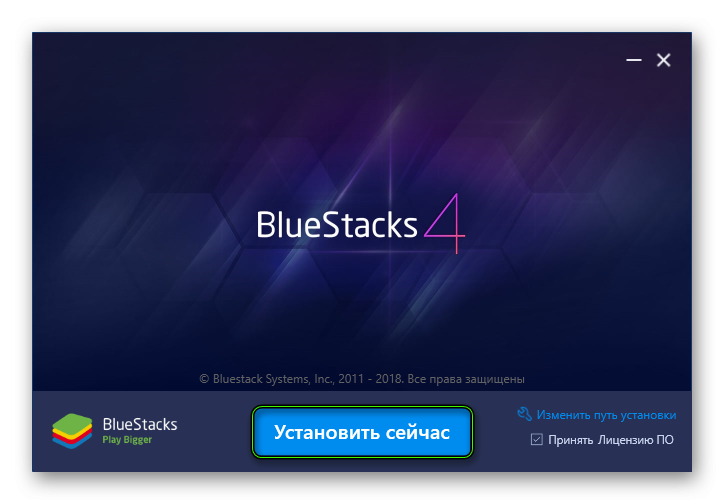 “Finish”.
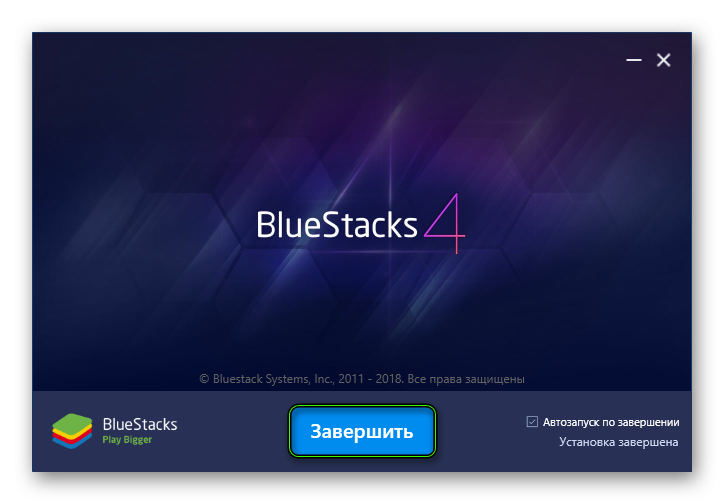
Again, you will have to wait a bit while the virtualization engine is being configured. After that, the system will ask you to provide data from a Google account, for example, from YouTube or other company services. Unfortunately, it is impossible to bypass this step, so you will have to log in. 
Possible problems
Alas, sometimes during the installation of the program, users encounter various errors. Understanding their causes is not worth it, it is more logical to immediately proceed to direct action. First, make sure your PC meets the developer’s minimum system requirements.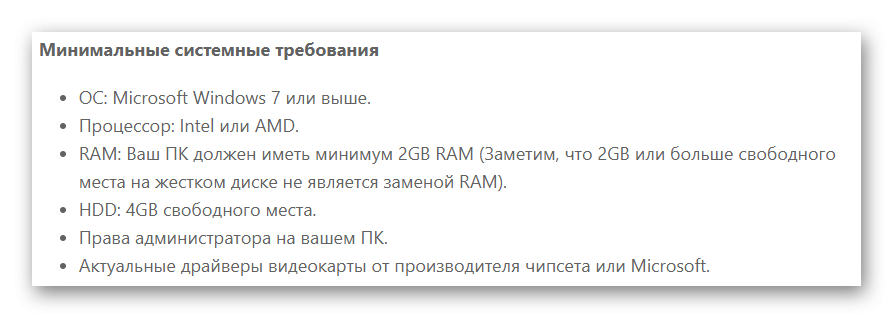
As a rule, there are no problems with this. So let’s move on to the next method:
- Open the directory where the installation file was saved.
- Right click on it and then select the item from the context menu that is responsible for opening with administrator rights.
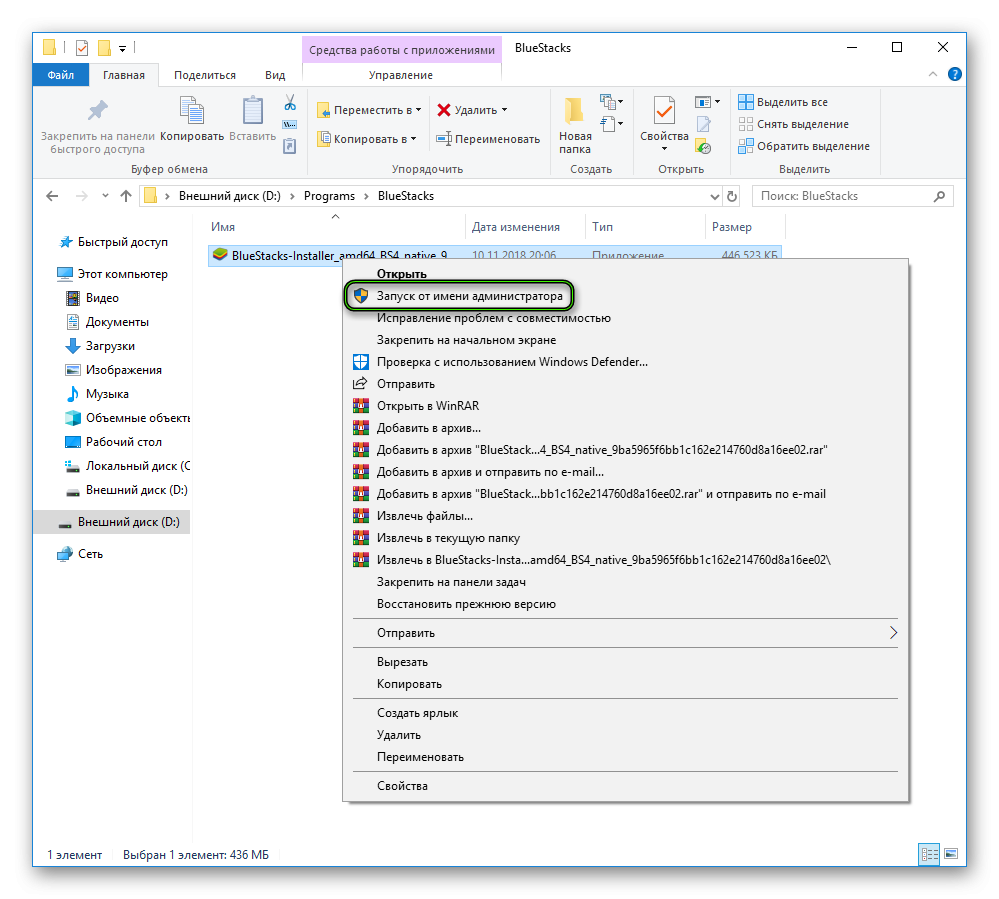
- Now try the installation again.
In some situations, this is not enough. Most likely, you will have to re-download the installation package from the link below. Also try restarting your PC.