[toc]
Before installing this mobile platform emulator, it is advisable to find out what are the minimum and recommended BlueStacks system requirements for different versions, and also check their compliance with the configuration of your computer or laptop. It is not always easy for an ordinary user to deal with models of processors, video cards and other “subtleties”. And if you have any difficulties with this, then check out our material.
Details
At the moment, there are three actual versions of BlueStacks: the usual three, 3N and four (the last update of the program). The first one runs Android KitKat (4.4), while the second and third run Nougat (7.X). And it is easy to assume that each of the cases will have its own system requirements, both minimum and recommended. But in reality everything is identical. In the article, the requirements will be written through the “/” sign in case of differences. Everything looks something like this: “minimum / recommended”.
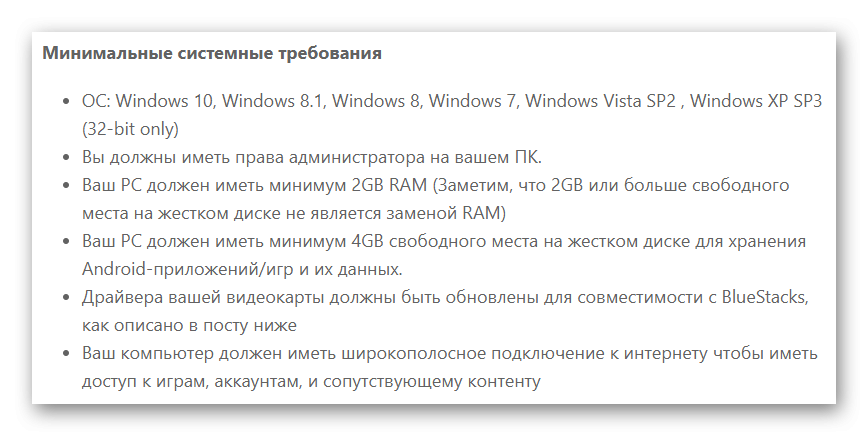
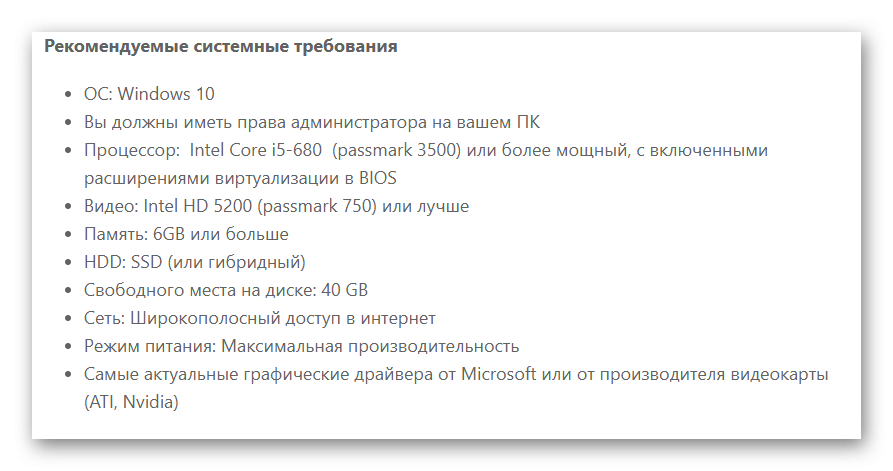
For BlueStacks 3 and 3N:
- OS: Windows XP (32-bit only with Service Pack 3), Vista (32-bit or 64-bit and above)/”Ten” (read below to find out your operating system);
- Processor: even a single-core gem/multi-core model with virtualization enabled and PassMark score over 1000 points (read more about PassMark below);
- Graphics adapter: any/Intel HD 5200 or equivalent with PassMark 750+ rating;
- RAM: 2 GB/6 GB or more;
- Drive: at least 4 GB of free space on HDD/Solid State Drive (SSD) with 40 GB or more of available space;
- A broadband Internet connection (required when using Internet services or for mobile games over the Web);
- Latest video card drivers (read below to update them).
 For BlueStacks 4 everything is the same, except for OS. This version of the program no longer supports Windows XP and Vista.
And to figure out what version of Windows you have, check PassMark and update your drivers, see the following items.
OS
If you do not know the operating system installed on your computer, then we offer an easy way to find out its version. To get started, open the Run tool via the hotkeys Win + R. Next, enter control system there or copy this command and then press Enter. This will open Windows Properties where you will find the information you need.
 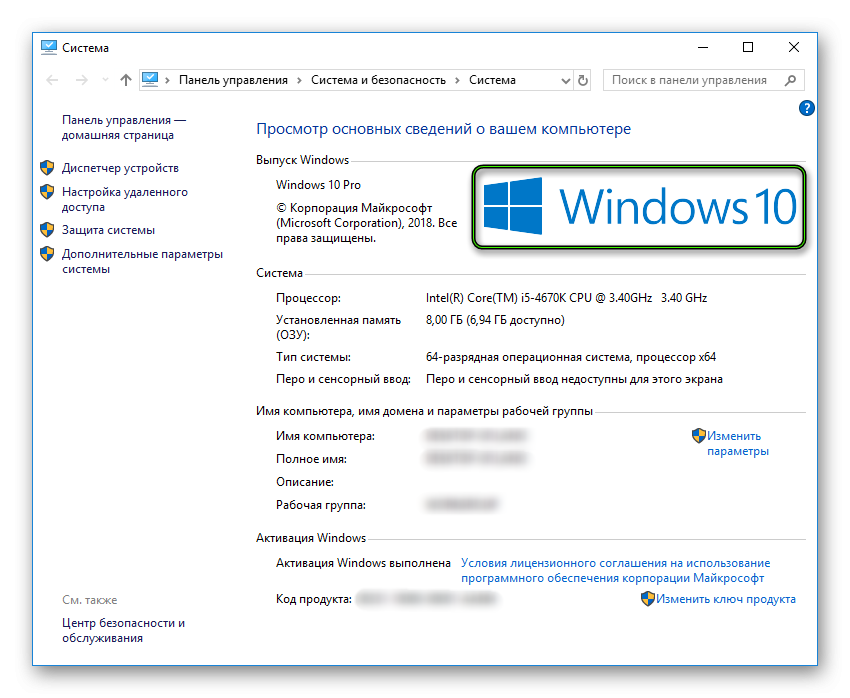 “System type” column. It contains the bit depth of the OS, which will be required later.
PassMark
This name is given to a special benchmark (test) for computer components. In our case, for the processor and for the video card. And in order for BlueStacks to work without any problems, they must meet certain marks in terms of power.
First you need to find out the models of iron used in your PC. Everything is done like this:
- Press Win + R. This will launch the Run.
- Type dxdiag here and press Enter.

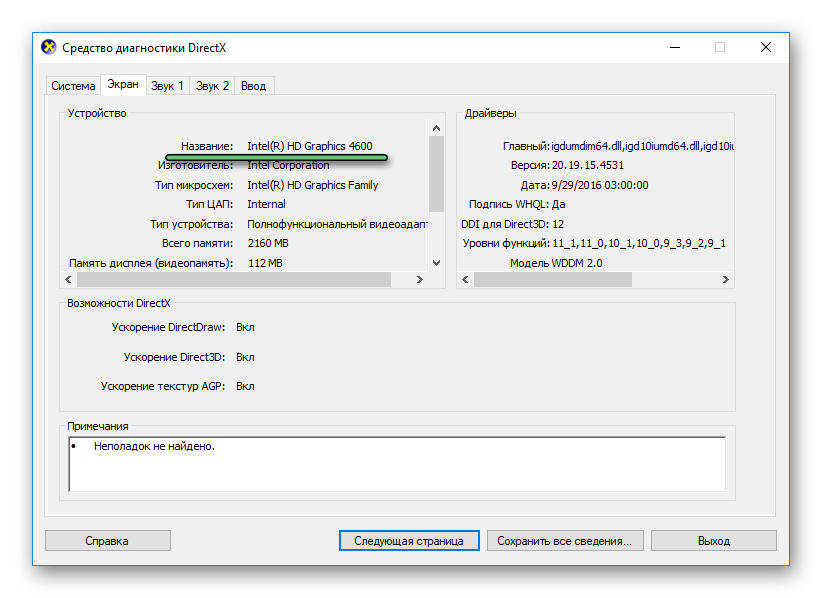
- In the “System” tab you will find the CPU model and manufacturer.
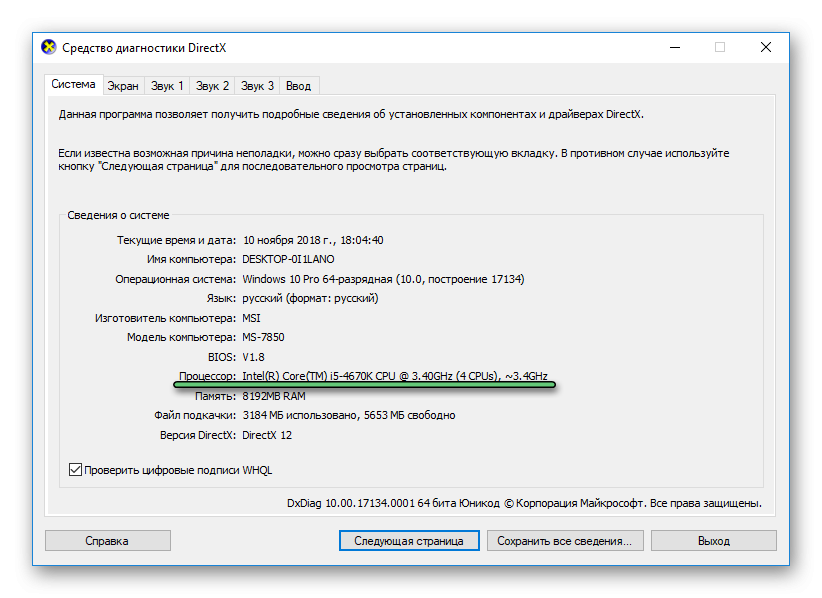
- And in “Screen” – similar information about the graphics adapter.
To find out which PassMark your processor has, do the following:
- Open https://www.cpubenchmark.net/singleThread.html .
- Press Ctrl + F to bring up the browser search form.
- Type the CPU model into it. In our case, this is “4670K”.
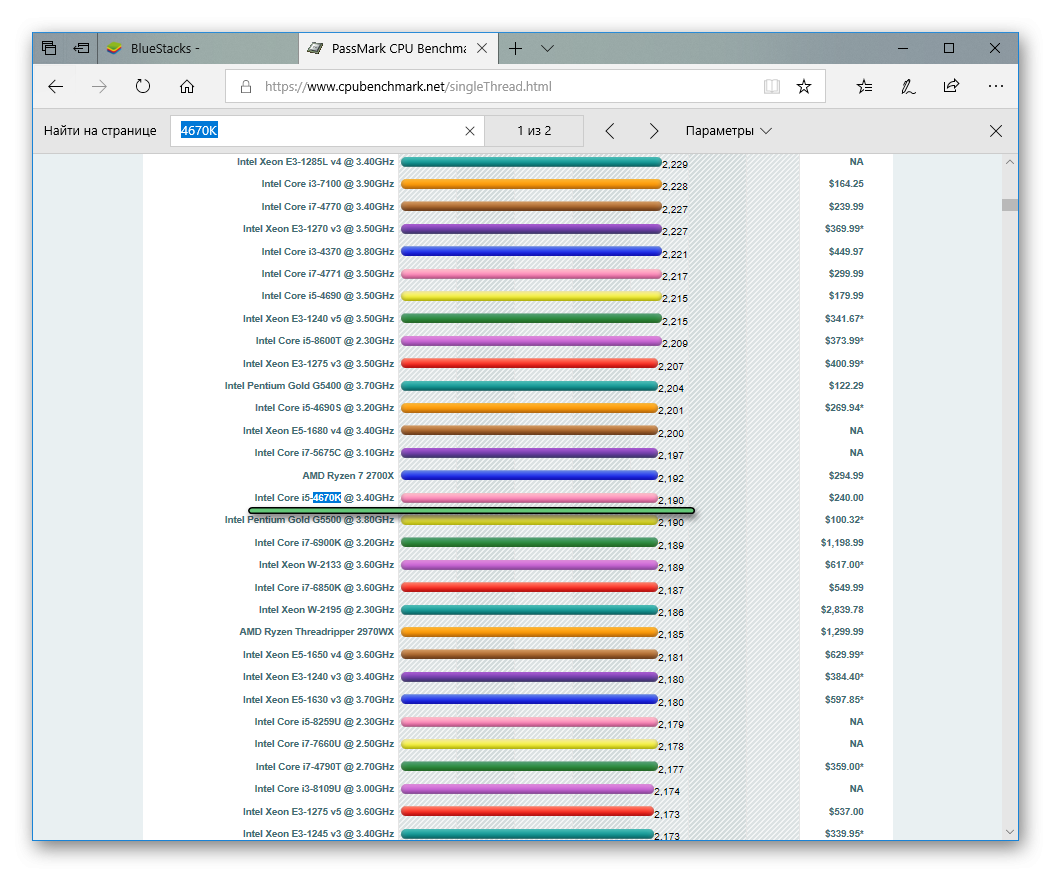
- Make sure everything was found correctly by checking the manufacturer.
- The number to the right of the desired column will be the number of points in the benchmark. In the recommended configuration, it should be from 1000, but just a smaller amount is enough to run the emulator.
Check for video adapter:
- Go to https://www.videocardbenchmark.net/gpu_list. php.
- Open the search box again.
- Enter your card model.
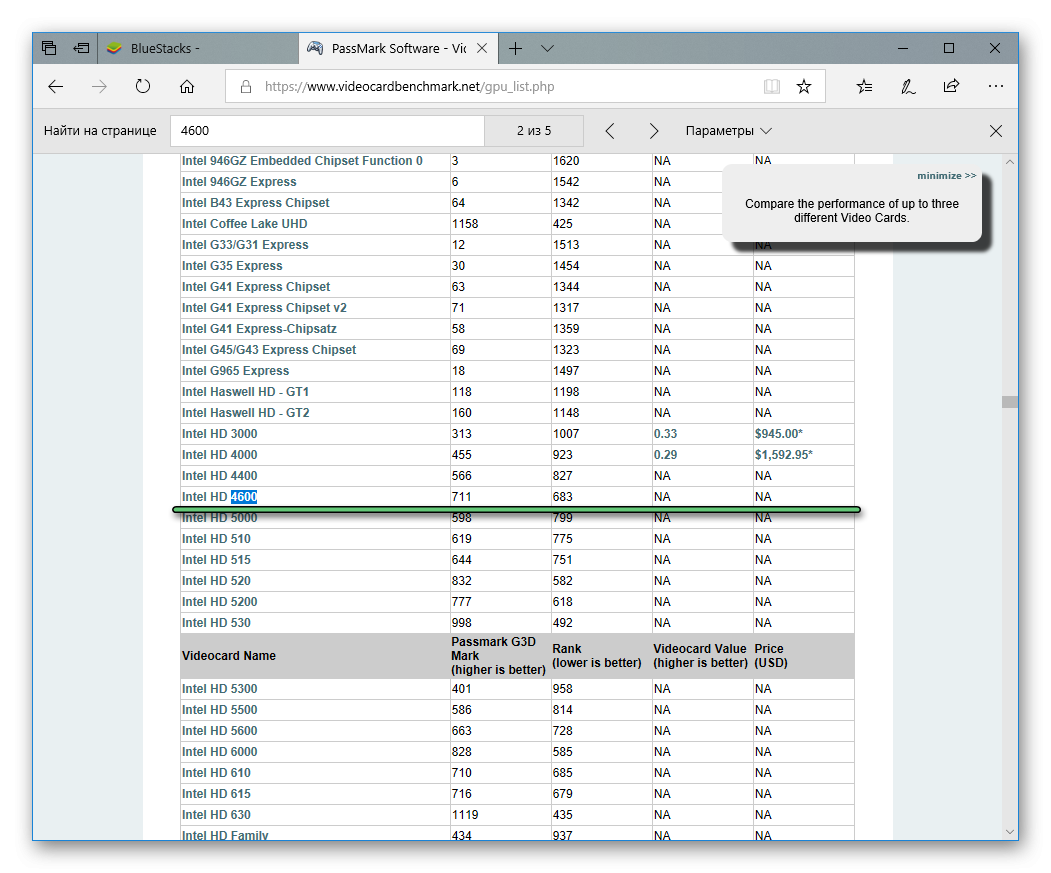
- Make sure the product from your manufacturer is found.
- The number written in the next column will be the result of the test. For example, in our case, it is 711. This result is below 750, which means that it is not recommended to use the emulator at maximum settings.
Drivers
Also in sys. requirements, there is an item on the availability of the latest drivers for the video card. We already know its model and manufacturer thanks to the instructions from the previous paragraph. Now let’s go directly to the download.
For NVIDIA:
- Open https://www.nvidia .ru/Download/index.aspx?lang=en.
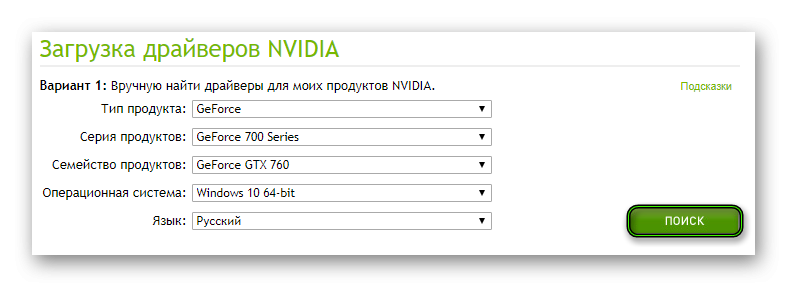
- In “Product Type” select “GeForce”.
- In the next paragraph – the series (for example, for the GTX 760 – GeForce 700 Series).
- Then specify the specific model.
- Next, select your operating system with the required bitness.
- The default language is “Russian”. Change it if it’s not.
- Click on “Search”.
- On the next two pages, click on the green Download Now button.
- Open the downloaded file and install.
- Restart your computer or laptop.
For AMD:
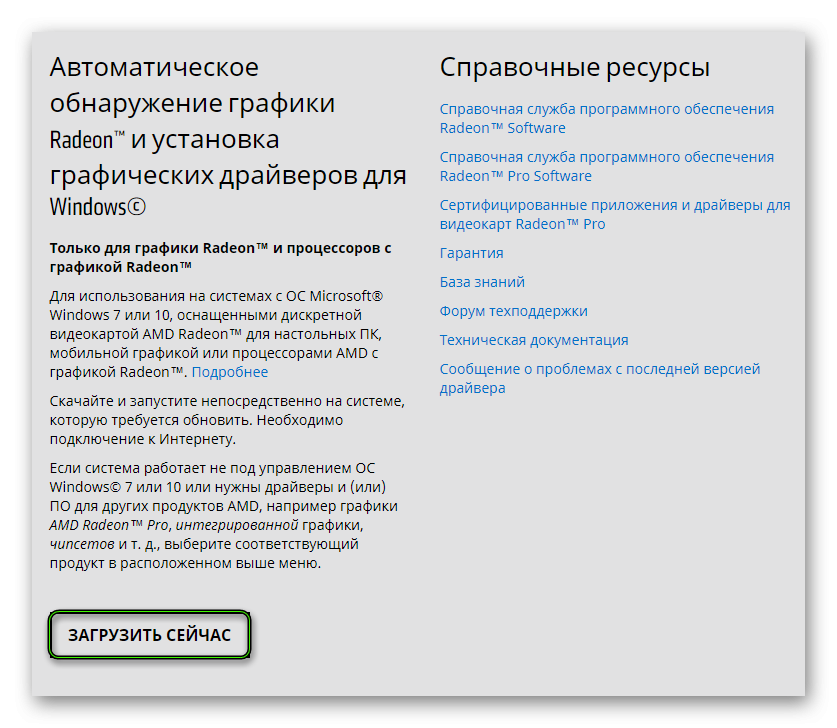
- Download auto-update utility here. Scroll down the page and click “Download Now”.
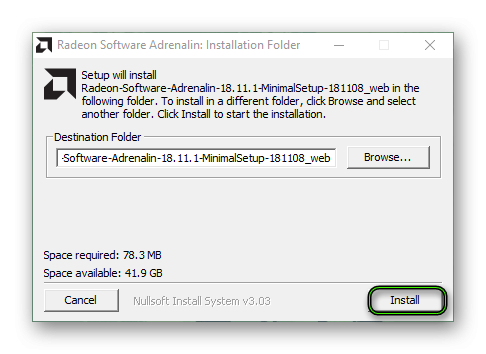
- Open the .exe file.
- Click on Install.
- Now click “Accept and Install”.
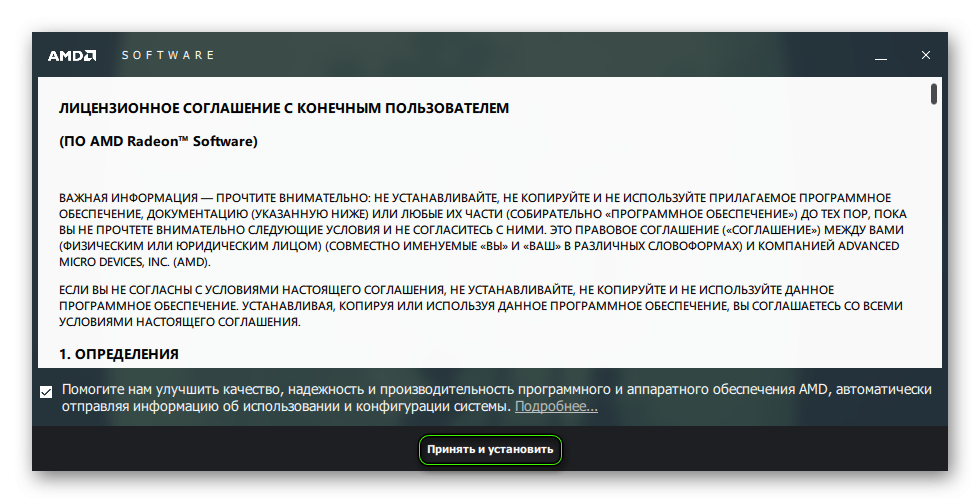
- Wait until the card is found, and then agree to update it.
- Restart your PC.