BlueStacks is one of the few Android emulators that is still supported by the developer. Most of these projects have long been closed, and new ones are far from always to the taste of the user. The relevance of the project is due to the fact that new versions are released for it with a certain regularity. And in order to always stay with the maximum of functions, they are worth downloading and installing. Today we will talk about how to update BlueStacks to the latest version.
For reference
BlueStacks is a popular emulator that occupies a leading position in the market. Superiority is achieved through the following list of strengths:
- high performance in gaming applications;
- free base;
- intuitive user interface;
- compatible with most Android apps;
- The software is constantly being improved, the support service promptly responds to messages from site participants.
Instruction
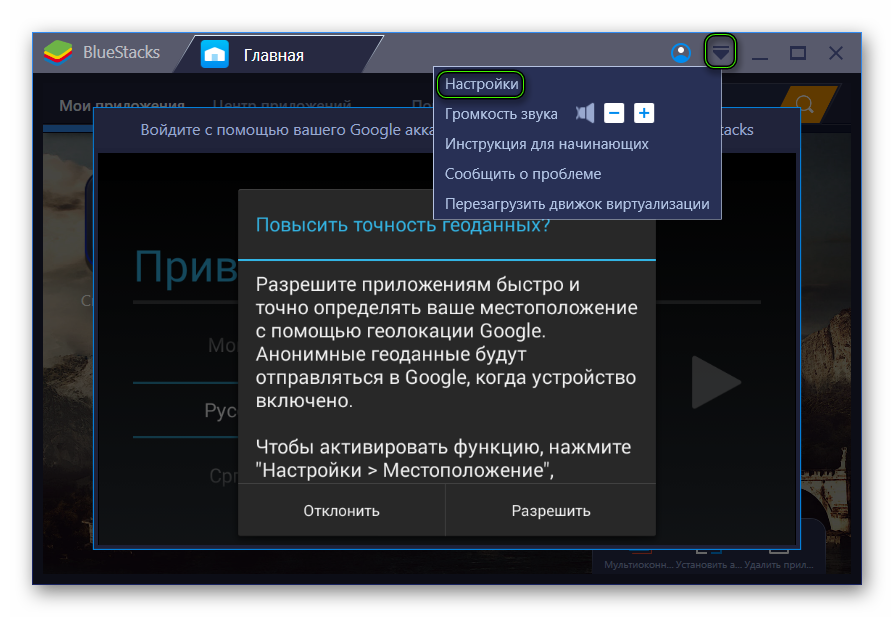
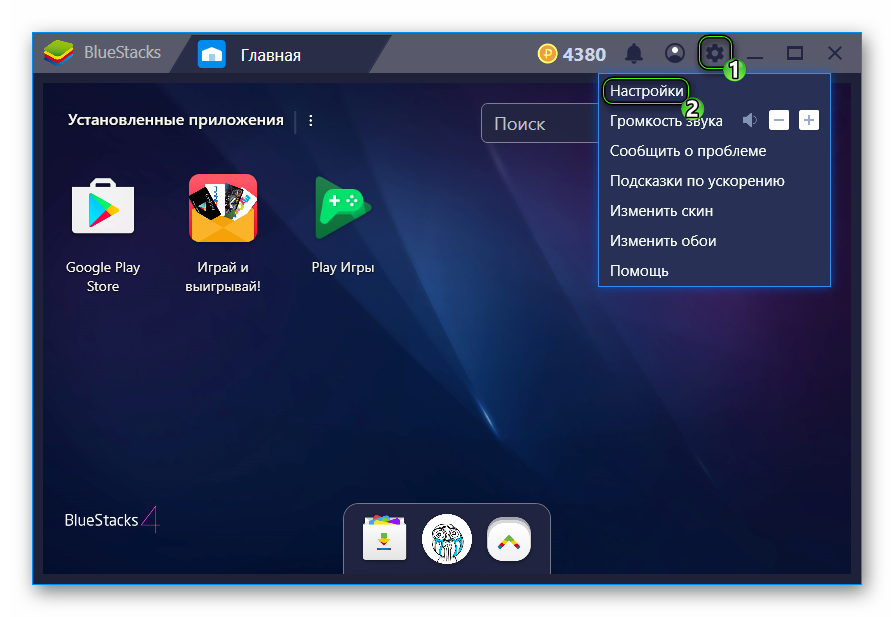
The function of downloading the latest actual version is built directly into the emulator. It will be used as follows:
- Open the program settings.
- Visit Upload.
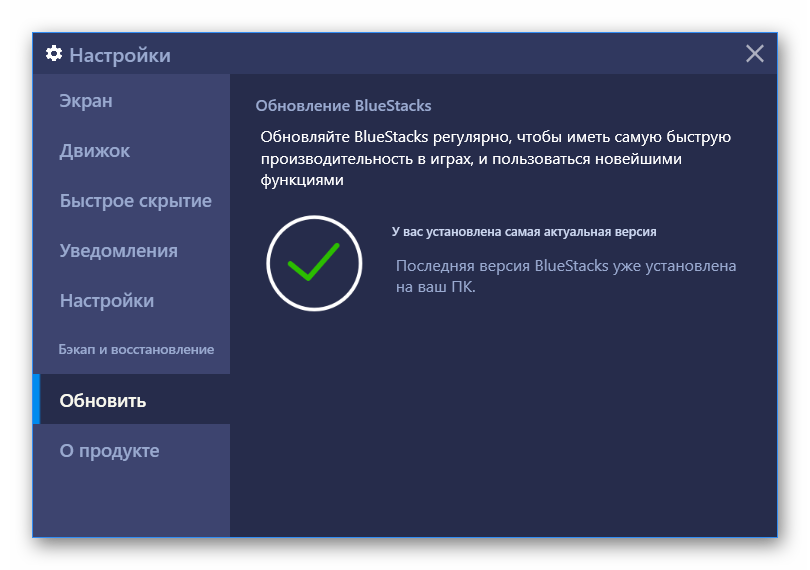
- Select a download option.
- End the procedure.
Alternative
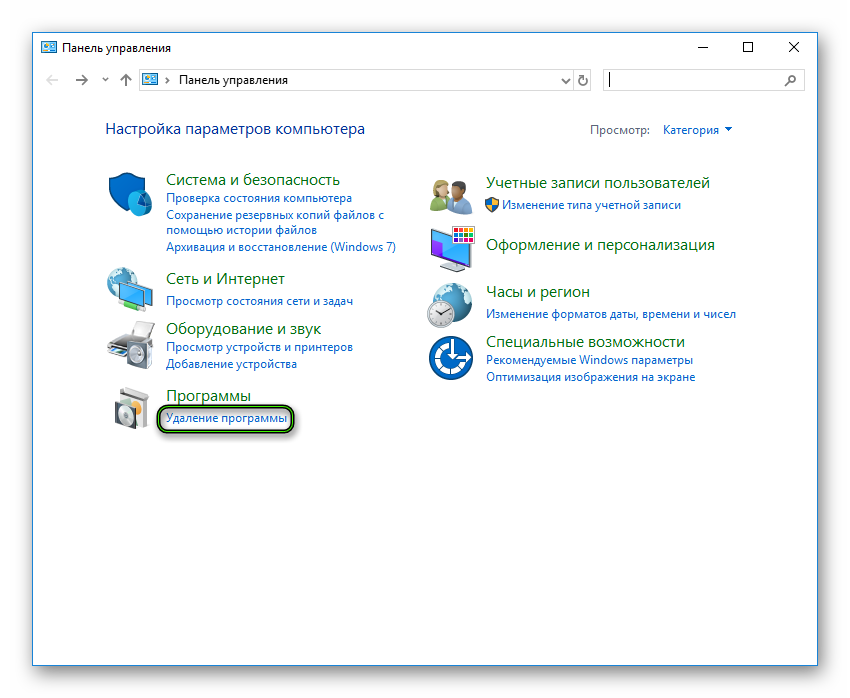
Or you can download the new BlueStacks update manually. First, remove the old program from the PC:
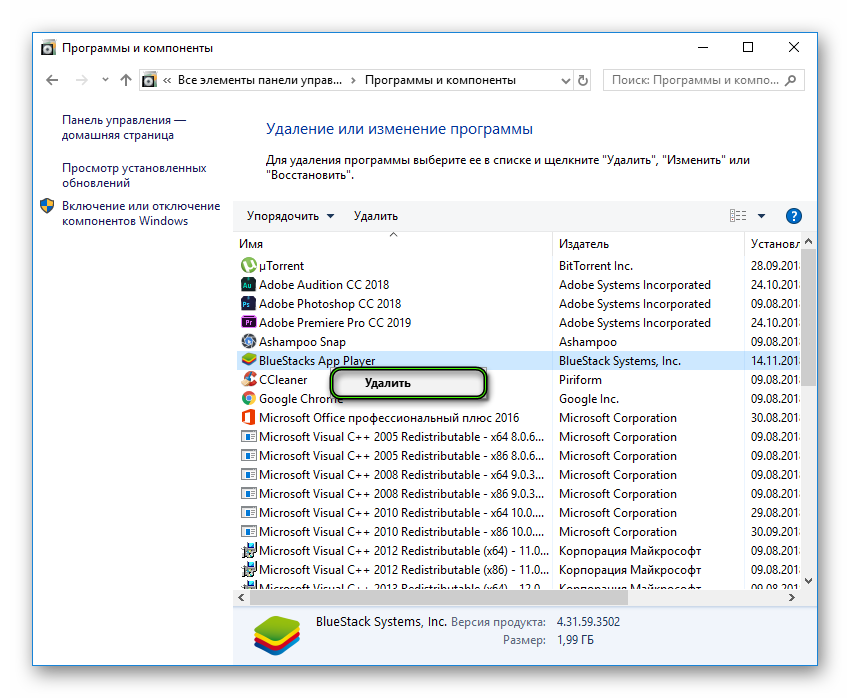
- Launch the Windows Control Panel.
- Here open either Programs and Features or Uninstall a program.
- Find our emulator in the list of installed software.
- Right-click on the corresponding column and select the uninstall option.
- End the procedure.
And to install, use this article. There are detailed instructions for your convenience. After that, BlueStacks on the computer will be fully updated.