Configuring BlueStacks allows you to make working with the Android emulator much more comfortable for the user. But the implementation of this procedure is greatly complicated if you do not know its features. Let’s look at the main nuances in more detail.
Instruction
To begin with, we will talk about the parameters that can be changed from the program itself: graphics, language and screen. And to change the rest, you will need an additional utility. In the article we will go through each item.
Graphics
Open the program BlueStacks. To get to the options menu, first click on the top icon, and then on the first item. 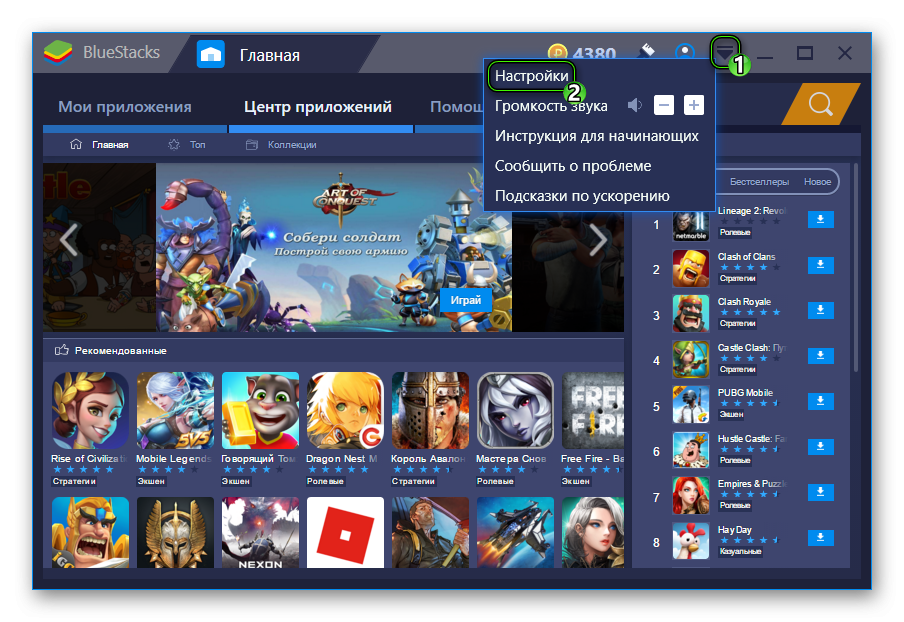 Display tab will immediately appear . Here, set the optimal resolution and DPI. It all depends on the power of the computer. If you have a medium system, then stop at 1280 x 720 and 160 DPI.
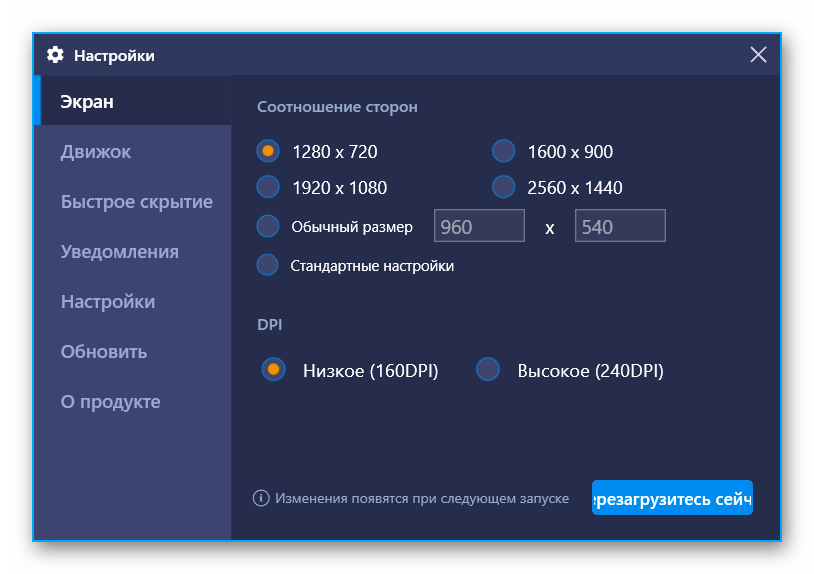 For productive ones, set the maximum. To apply the changes, click on the reload button.
To continue customizing graphics on BlueStacks, go to the Engine tab. In the upper section, you should activate the OpenGL mode, if it is not activated. Next, you need to allocate at least 1024 MB of memory to the system (preferably 2048 MB). And in “KernelsCPU” is the maximum number.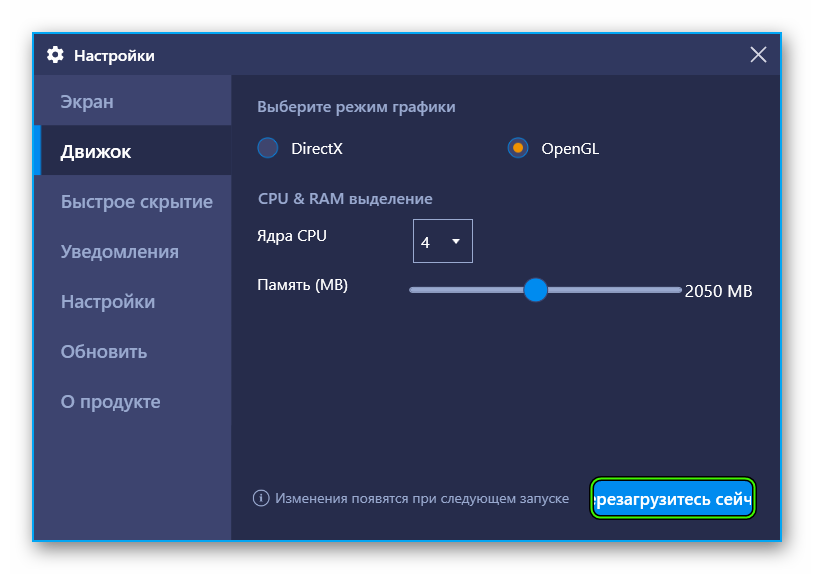
Language
Changing the language in BlueStacks is done directly from the Android platform options. In the third version of the program, you can access them from the System Applications directory on your desktop.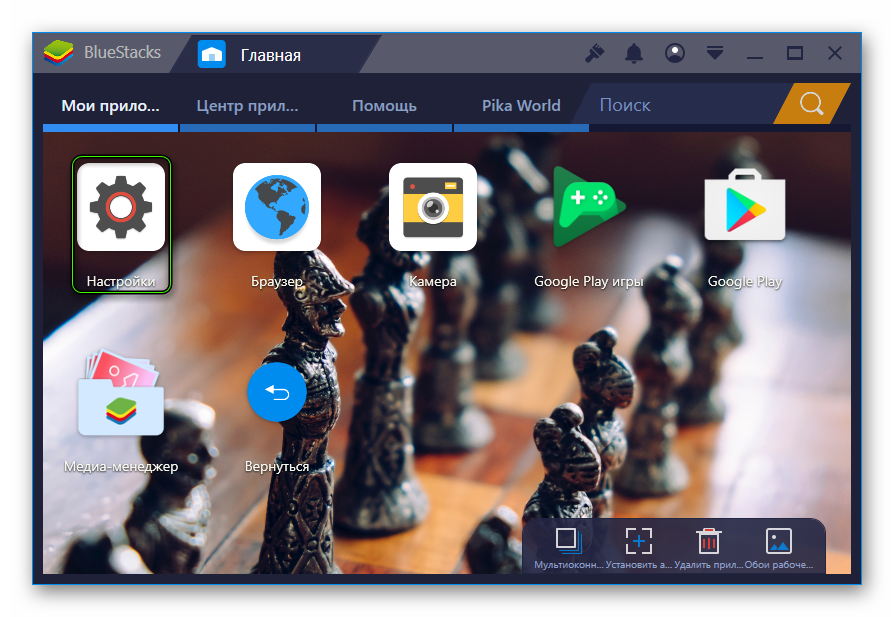 And in the fourth – just click
 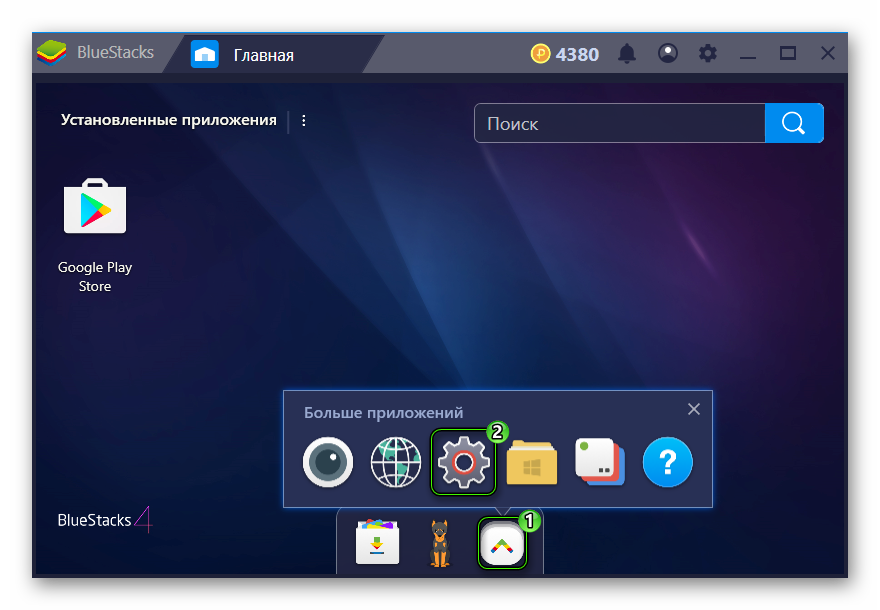 Flip down the page that appears (in both cases) to “Language and input” and open it.
 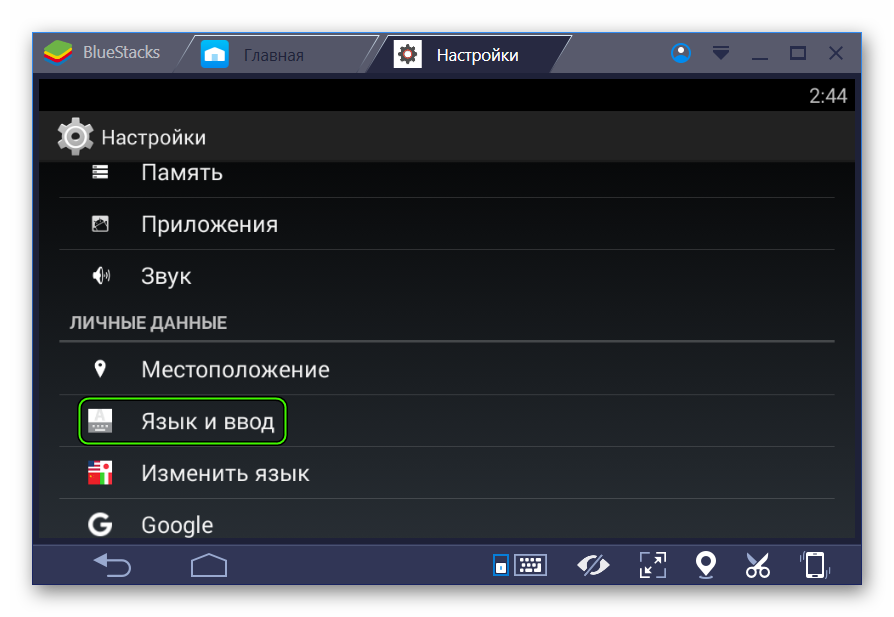 “Language” and you choose the appropriate translation from the list.
Orientation and fullscreen
Sometimes you need to flip the screen in order to comfortably use applications in BlueStacks. But here’s the problem: there is no such function directly in the Android emulator. Finding it will not work, even with a strong desire. On the Web, you will be offered a bunch of strange ways, for example, with editing the registry. But they are too bulky and stupid.
We suggest downloading a special application that expands the standard capabilities of the system. Rotation Control will do the job just fine (no root required).
To download it, open Google Play and use the search function.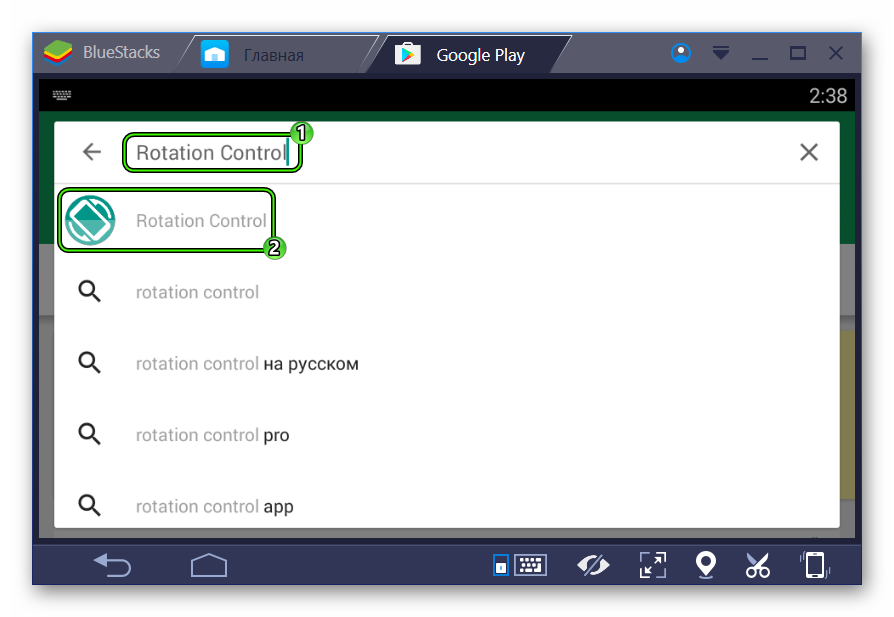 Once you are on the appropriate page, click on “Install” and then on “Open”.
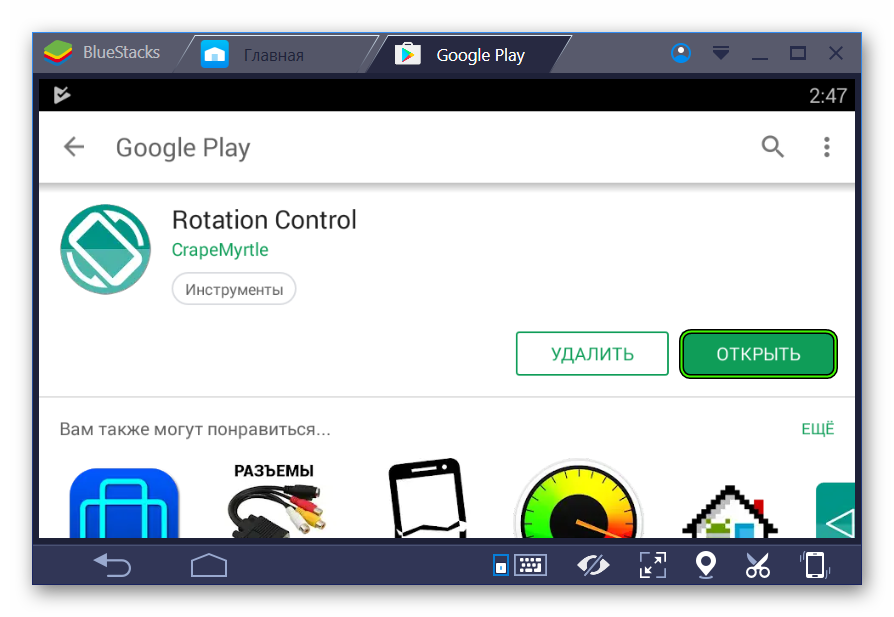 It remains only to activate the option «Start controlling rotation” .
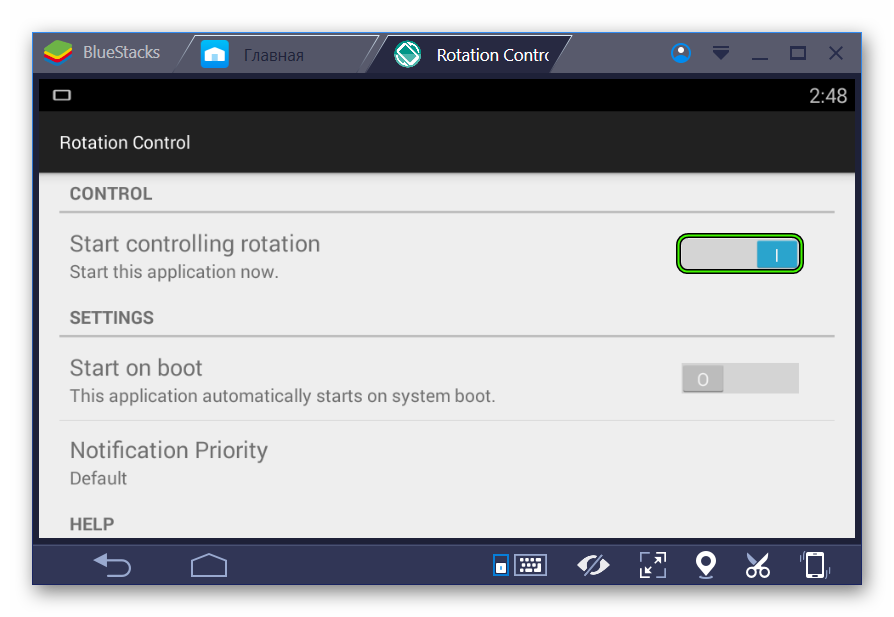
Now launch any other application. Next, pull down the notification shade. A new column with several icons will appear in it. They are responsible for changing the orientation. 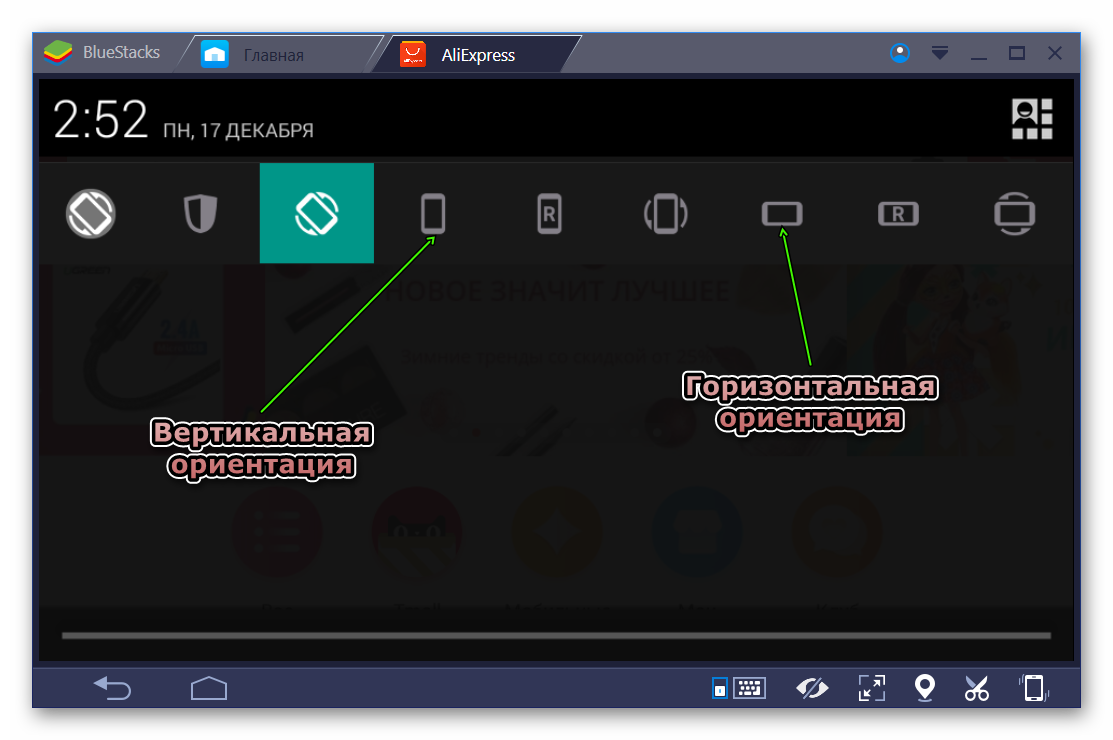
And to make BlueStacks full screen, click on the corresponding icon below or press the key F11.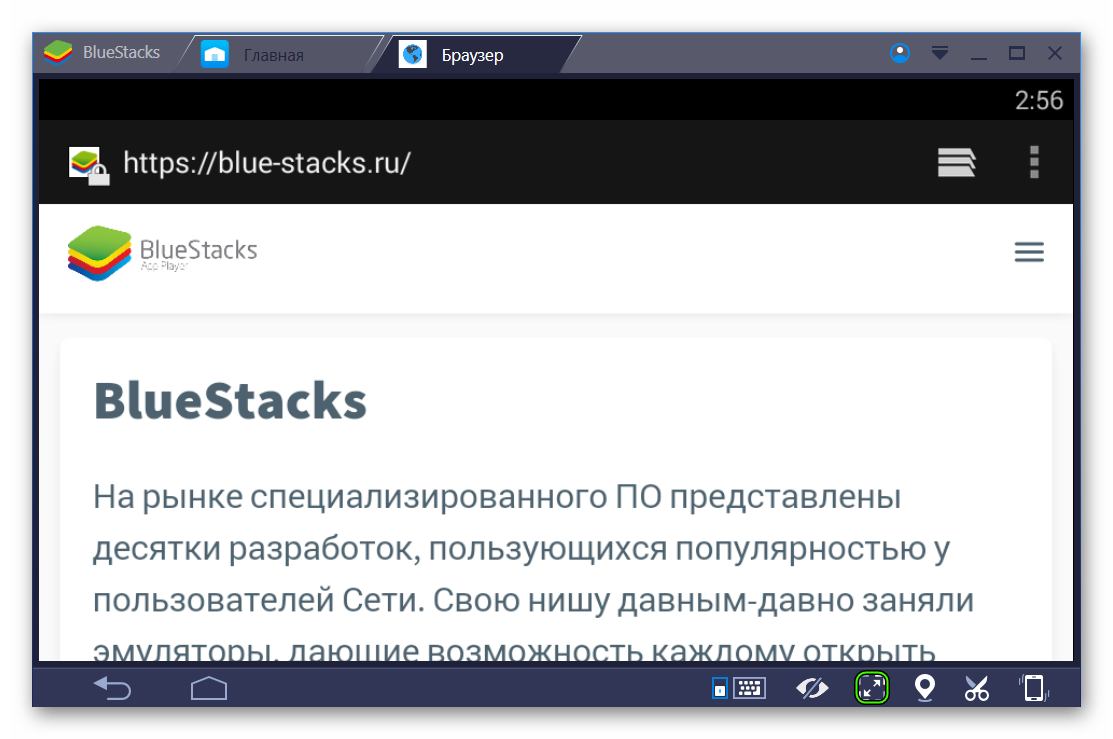 But doing this will exit directly in the running application.
Device
And finally, we will figure out how to change the virtual device model in BlueStacks. For these purposes, the previously mentioned utility Tweaker is required. You can download it following this link. Extract the contents of the archive to a convenient directory and open the file BlueStacksTweaker5.exe.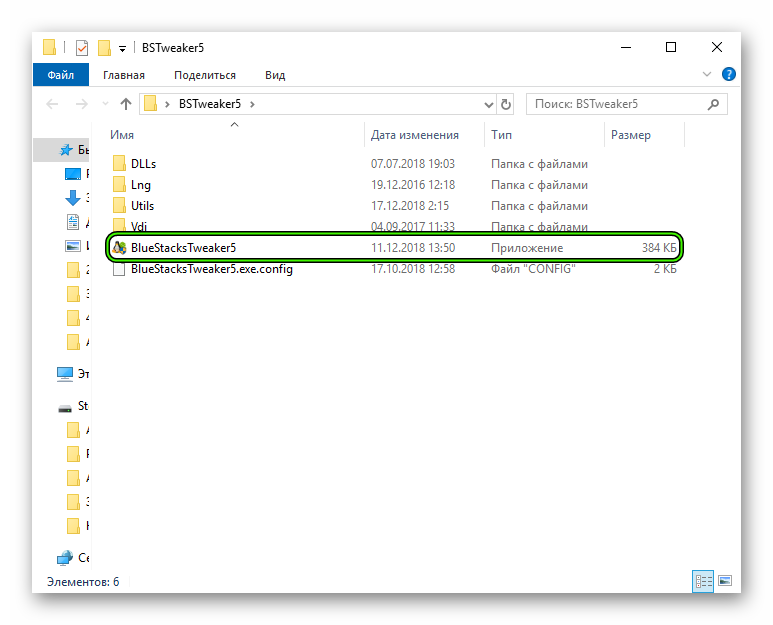
Further procedure:
- Go to the Settings tab.
- Required options can be found under “Device”.
- At the end click on “Apply”.

- Close the utility and restart BlueStacks.
Как убрать панель поиска приложений на Главной справа? Она мешается, закрывает пол экрана.