The software market monthly offers new projects that are waiting for the love and attention of the public. But this does not apply to the popular emulator, which will be discussed later. Today we will talk about how to use BlueStacks, in the process of narrating we will also consider the pitfalls of the procedure. Ready to spend a few minutes reading some fun? Then go ahead!
Briefly about the main thing
BlueStacks is an emulator that creates an Android environment within the desktop platform. It uses the technical parameters of the computer to run applications tailored for the mobile OS.
The public has a positive attitude towards the product due to:
- high performance gaming applications;
- intuitive user interface;
- multilingual;
- free distribution distribution model.
How to use
Despite the behavioral differences of each user, the model of working with the emulator is identical at the initial stage. Let’s take a look at it in more detail:
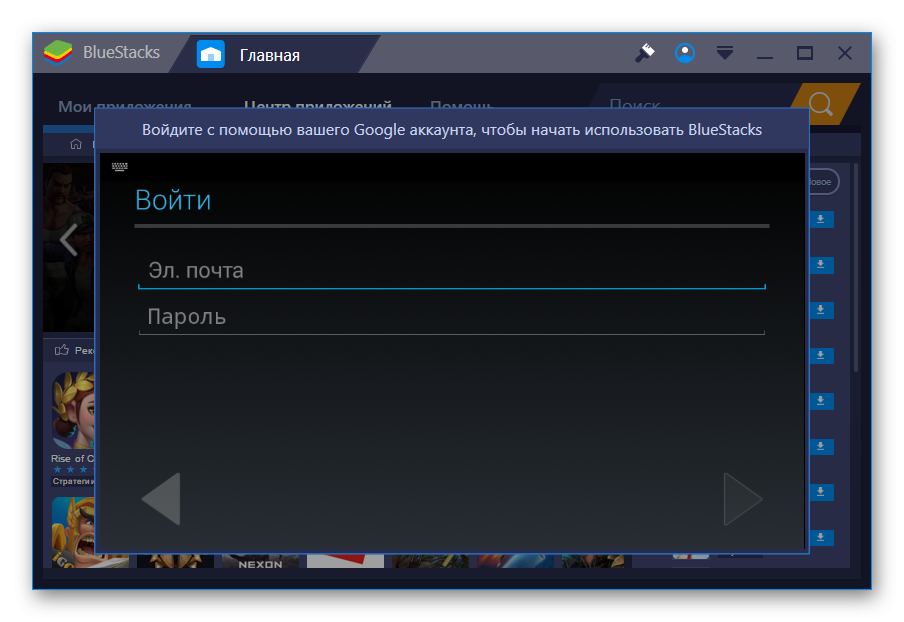
- First, launch the emulator and synchronize it with Google (register a new account or log in) .
- After completing all the procedures, go to the user settings (gear icon).
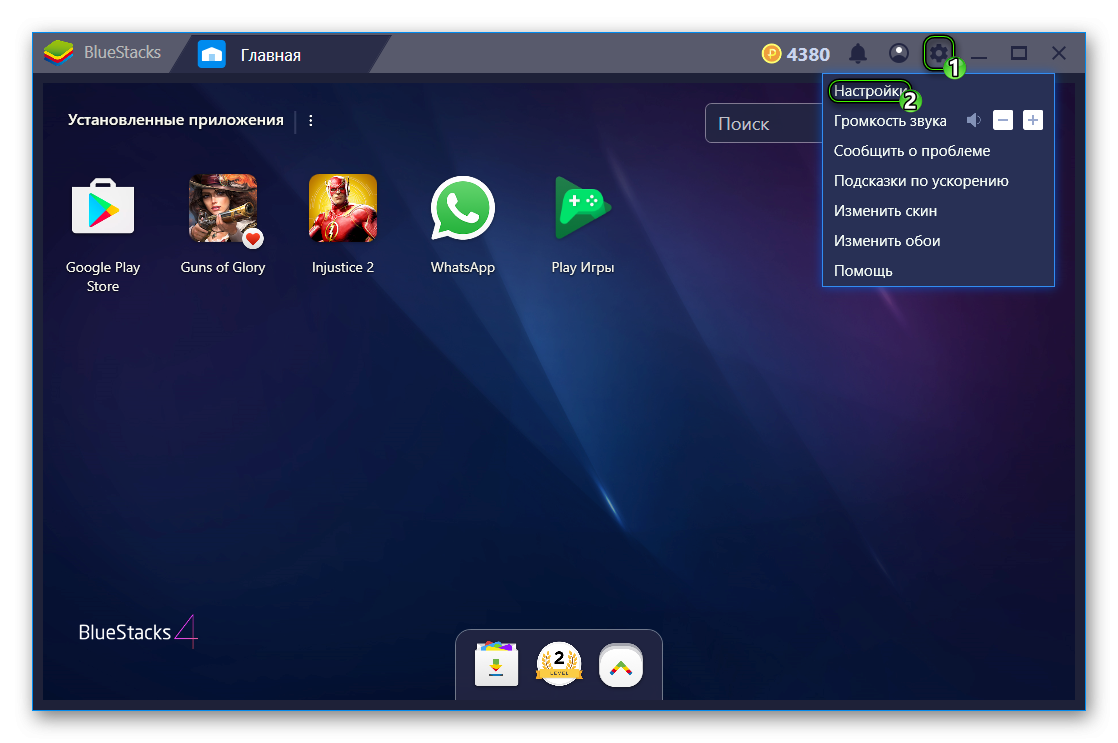
- Here we set the screen resolution and other technical parameters in accordance with the capabilities of the hardware.
- To download the first application, open the preinstalled Play Market and form a search query.
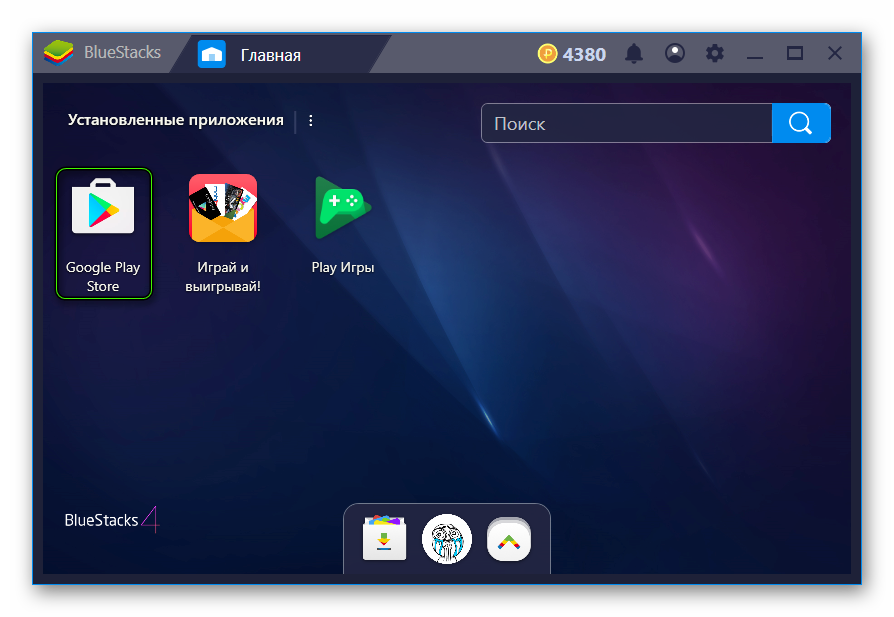
- After finding the desired object, its automatic installation begins.
- Run the first program and set up controls, adjust the gameplay to desktop peripherals (mouse and keyboard tandem).
Summing up
Using the BlueStacks emulator is not associated with any difficulties, as the developers have tried to minimize the threshold for assimilation of the available functionality. You don’t need advanced PC knowledge to use it, it’s easy for a simple person to handle.
