Everyone has faced the need to change their account profile in a popular emulator, but not everyone has moved from words to deeds. Today we will talk about how to change your account in BlueStacks, and consider other manipulations provided by the emulation environment.
Google account management
Standard system mechanisms allow you to create, change and delete accounts. For ease of perception, we will divide the further narrative into several logical blocks.
Choosing another profile
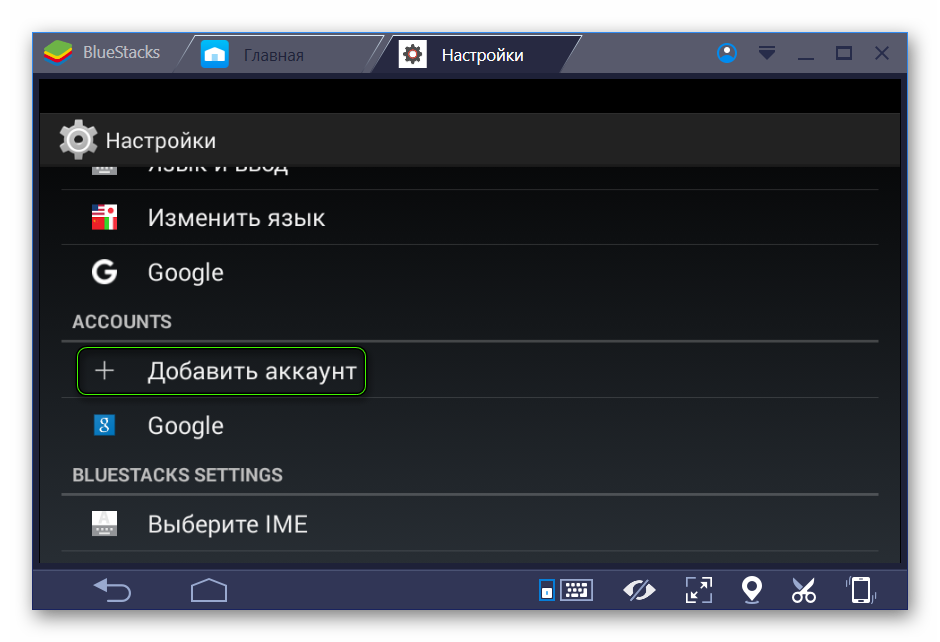
To change the account in BlueStacks, it is enough:
- Start the emulator and go to the Android user settings.
- Find the section “Accounts” and click on the item “Add”.

- Select your preferred service (Google) and add an existing or create a new account.
- Save the changes.
Logout
To log out of your BlueStacks account, follow these steps:
- Then go to the section “Accounts”, where all linked accounts are presented.
- Open your profile.
- Uncheck “Synchronization”, thus we log out of the account.

When one of the profiles is deleted, the second or third one becomes the main one.
Summarize
BlueStacks implements a profile management system that allows you to delete, change and add them. The procedure does not require advanced PC knowledge and is available to every Internet user.


